How to use Spell Checking
Free course how to use Spell Checking text in AutoCAD
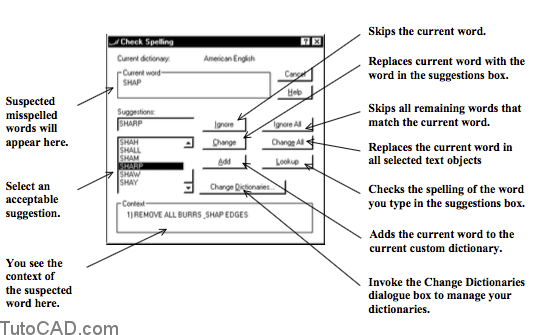
Use the Spell command to verify whether or not selected objects contain text that is spelled correctly (as per the current dictionary).
- if you use spell checking text in other Windows applications you should already be familiar with the Spell Checking dialogue box.
You are prompted to select objects to check.
- all objects in the Model tab as well as the last active Layout tab are checked if you enter ALL at the Select objects prompt.
- AutoCAD ignores objects that were not created as TEXT or MTEXT or that are not DIMENSION objects that include text.
Practice : SPELL checking text tutorial in AutoCAD
- Close the drawing from the previous exercise if it is open.
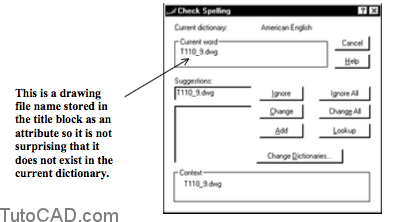
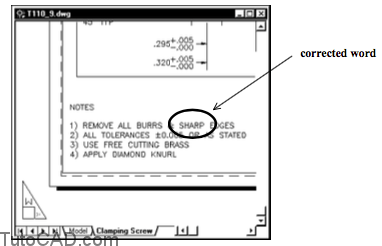
- Open the T110_9.dwg drawing in your personal folder.
- Pick Tools + Spelling. Enter ALL at the select objects prompt then press <enter> to signal AutoCAD that you have completed selecting objects.
Command: ‘_spell
Select objects: ALL↵
72 found
2 were a viewport.
Select objects: ↵
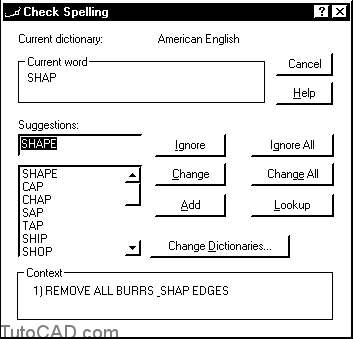
- 4- AutoCAD will think that SHAP is a misspelled word and this will appear as the Current word. You will also see where this word appears in Context.

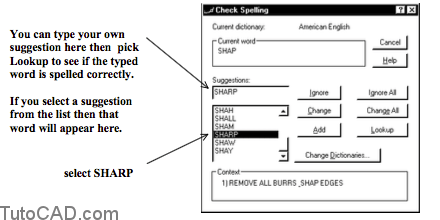
- Scroll down the list of suggestions and select SHARP. When you select this suggestion in the list it will appear in the Suggestions edit box as well.
6- Pick the Change button to replace the suspected spelling error with the suggested word (SHARP).
7- Pick the Ignore button to skip the next suspected error.
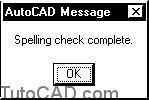
8- Pick OK when AutoCAD says Spelling check complete.
9- Zoom in for a closer look at the MTEXT notes that you just corrected.
10- Save the changes to the current drawing and Close the file.
More Practice
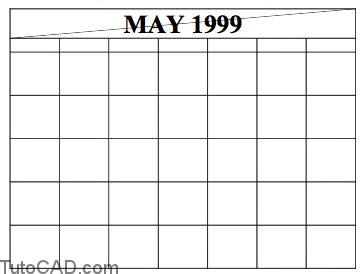
Open the T110_10.dwg in your personal folder for a blank calendar grid.
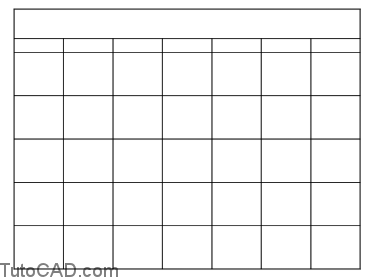
In this exercise you will create a calendar for the current month like the one illustrated below (see guidelines on the following pages).

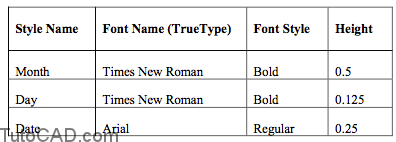
1- Create three fixed height text styles for the parameters shown below.
2- Create a TEXT object with Middle justification using the Month text style and center it in the top box as shown.
Draw a temporary construction LINE between opposite corners (as shown above) to use a Midpoint osnap for the TEXT insert point.
– then Erase this construction LINE after creating the TEXT.
3- Use a similar technique to create TEXT labels for each day of the week with the Day text style. See the illustration on the following page.
Create the SUNDAY label and use either Copy or Array to create 6 replicas of the SUNDAY label in each of the other day boxes.
– then use ddEdit to edit the text string for each of the other TEXT objects for the appropriate days.
4- Create the TEXT objects for each date using the Date text style with Top Left justification and leave a space of 0.10 inches from the grid LINEs. If the current month spans more than 5 weeks (as in the dates for 30 & 31 shown in this example) draw a diagonal LINE in appropriate boxes and place the date in the lower right corner instead with a Right justification and the same 0.10 space between the TEXT and grid LINEs.
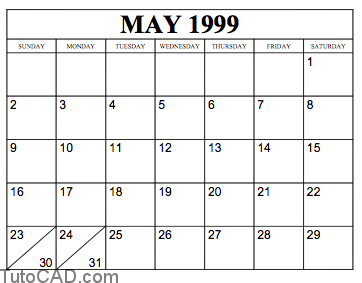
Position the TEXT object at the Intersection point and then Move it the appropriate distance in X and Y to achieve a space of 0.10.
Create one TEXT object (e.g. X) in the proper position in the upper left corner date box.
– use Array to generate a duplicate X in the other date boxes.
– use ddEdit to edit the text string in each TEXT object for the appropriate date.